
What is a MiniDapp?
A MiniDapp (Minima Decentralised Application) is a lightweight web application that runs locally on your own Minima node. Unlike conventional web applications, a MiniDapp does not rely on a central server. Instead, it communicates directly with your own node through Minima’s JavaScript API and JSON/RPC interface.
Think of a MiniDapp as the equivalent of an app on your smartphone—but instead of running on Apple or Google infrastructure, it runs on your own blockchain node.
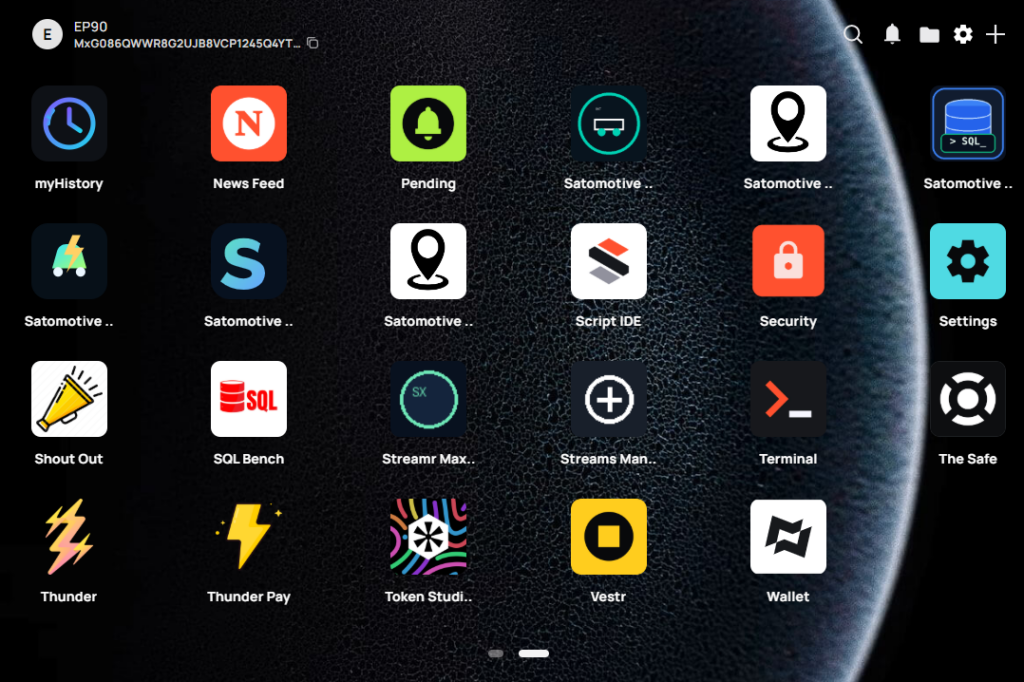
For The Satomotive Network, MiniDapps provide the user interface to vehicle data, wallets, messaging, tokenisation and future mobility services.
Why MiniDapps?
MiniDapps have several important advantages.
- Free and open source.
- Simple HTML, CSS and JavaScript development.
- Run entirely on your own node.
- No web hosting required.
- No app store approval process.
- Cross-platform.
- Can be distributed simply by sharing a ZIP file.
- Direct access to blockchain functionality through JavaScript.
- Can communicate with external systems via JSON/RPC and HTTP APIs.
For Satomotive this means that anyone with basic web development skills can build sophisticated connected vehicle applications.
Its interface is built using familiar web technologies:
- HTML
- CSS
- JavaScript
- Images and other local assets
Unlike an ordinary website, a MiniDapp can communicate with the local Minima node, execute blockchain commands, use its own SQL database, store files and respond to network events.
For Satomotive, MiniDapps provide the application layer for:
- Vehicle health and diagnostics
- CAN and UDS data
- Live P2P/V2X data sharing
- Payments and rewards
- Token creation
- Vehicle identity
- Secure messaging
- Fleet services
Installing MiniDapps
From the Dapp Store
- Open the Dapp Store.
- Select the required MiniDapp.
- Choose Install.
- Return to MiniHub.
- Open the installed application.
From an .mds.zip file
- Package all MiniDapp files together.
- Give the archive an
.mds.zipextension. - Open MiniHub or its installation facility.
- Select the archive.
- Confirm installation.
- Launch the application from MiniHub.
The ZIP must contain the MiniDapp files at its top level rather than placing them inside an unnecessary additional parent folder.
Correct MiniDapp Structure
A traditional MiniDapp is packaged as an .mds.zip archive with a structure similar to:
my-minidapp/
├── dapp.conf
├── favicon.ico
├── index.html
├── mds.js
├── service.js
├── css/
│   └── style.css
├── js/
│   └── app.js
└── assets/
    └── images/
The core files are:
dapp.conf
The MiniDapp configuration file. It defines information used by the MiniDapp System, including the application’s name, description, version and permissions.
favicon.ico
The application icon displayed in MiniHub.
index.html
The main user-interface entry point. It loads the application layout, styles, JavaScript and the mds.js connector.
mds.js
The Minima MiniDapp System JavaScript library.
This is the critical connector between the browser-based user interface and the local Minima node. Before a MiniDapp can call the Minima API, it must initialise MDS:
MDS.init(function (event) {
    MDS.log("MiniDapp initialised");
});
The library exposes functions for:
- Running Minima commands
- Accessing the MiniDapp’s SQL database
- Reading and writing files
- Persistent key-value storage
- Network GET and POST requests
- Communication between the user interface and
service.js - Broadcasting messages to other MiniDapps
- Notifications
- Utility and form functions
For example:
MDS.cmd("balance", function (response) {
    console.log(response);
});
Each MiniDapp also receives its own SQL database, accessed through MDS.sql(). The database uses the H2 engine and supports normal table creation, insertion, querying, updating and deletion. (docs.minima.global)
service.js
An optional background service.
The visible interface in index.html runs only while the user has the MiniDapp open. By contrast, service.js can continue processing Minima events in the background.
It is therefore important for applications that must:
- Receive Maxima messages
- Listen for blockchain events
- Process incoming transactions
- Monitor changes in state
- Store data while the interface is closed
- Generate notifications
- Route messages to the visible interface
- Perform automated application logic
For Satomotive, service.js is particularly important. A vehicle MiniDapp may need to process a diagnostic alert, incoming token, fleet instruction or V2X message even when its dashboard is not open.
The user interface and background service can communicate using:
MDS.comms.solo(message);
This allows the front end to send a private message to its own service.js. Broadcast communications can also be sent to other installed MiniDapps through the MDS communications API. (docs.minima.global)
Application files
The remaining folders contain ordinary web assets:
- CSS stylesheets
- JavaScript application logic
- Images
- Fonts
- JSON seed data
- Bundled libraries
All files are packaged together and renamed with the .mds.zip extension before installation. (docs.minima.global)
Typical Satomotive MiniDapp Architecture
A useful Satomotive application would normally separate its responsibilities as follows:
index.html
    Displays vehicle status and user controls.

js/app.js
    Handles interface events, rendering and MDS API calls.

mds.js
    Connects the application to the Minima node.

service.js
    Processes background Minima, Maxima and transaction events.

MDS SQL
    Stores journeys, signals, messages, settings and application state.

External vehicle service
    Acquires CAN, OBD-II, UDS, GNSS and IMU data.

MDS.net or RPC
    Connects the MiniDapp to the external vehicle service where permitted.
The MiniDapp itself should not be assumed to have direct low-level access to a CAN interface. A practical Satomotive architecture normally uses a local Node.js, Python or C/C++ process to acquire vehicle data and exposes a controlled HTTP, WebSocket or other local interface to the MiniDapp.
Basic Development Process
- Run a Minima node with the MiniDapp System enabled.
- Create
dapp.conf,index.html,favicon.pngand application assets. - Include
mds.js. - Call
MDS.init()before using the Minima API. - Use
MDS.cmd()for blockchain commands. - Use
MDS.sql()for persistent structured data. - Add
service.jswhere background event handling is required. - Test the MiniDapp locally.
- Package it as
.mds.zip. - Install it through MiniHub.
Minima also offers a newer React development route using its project creation tools and a typed MDS package, but plain HTML, CSS and JavaScript remain highly suitable for Satomotive prototypes and engineering utilities. (docs.minima.global)